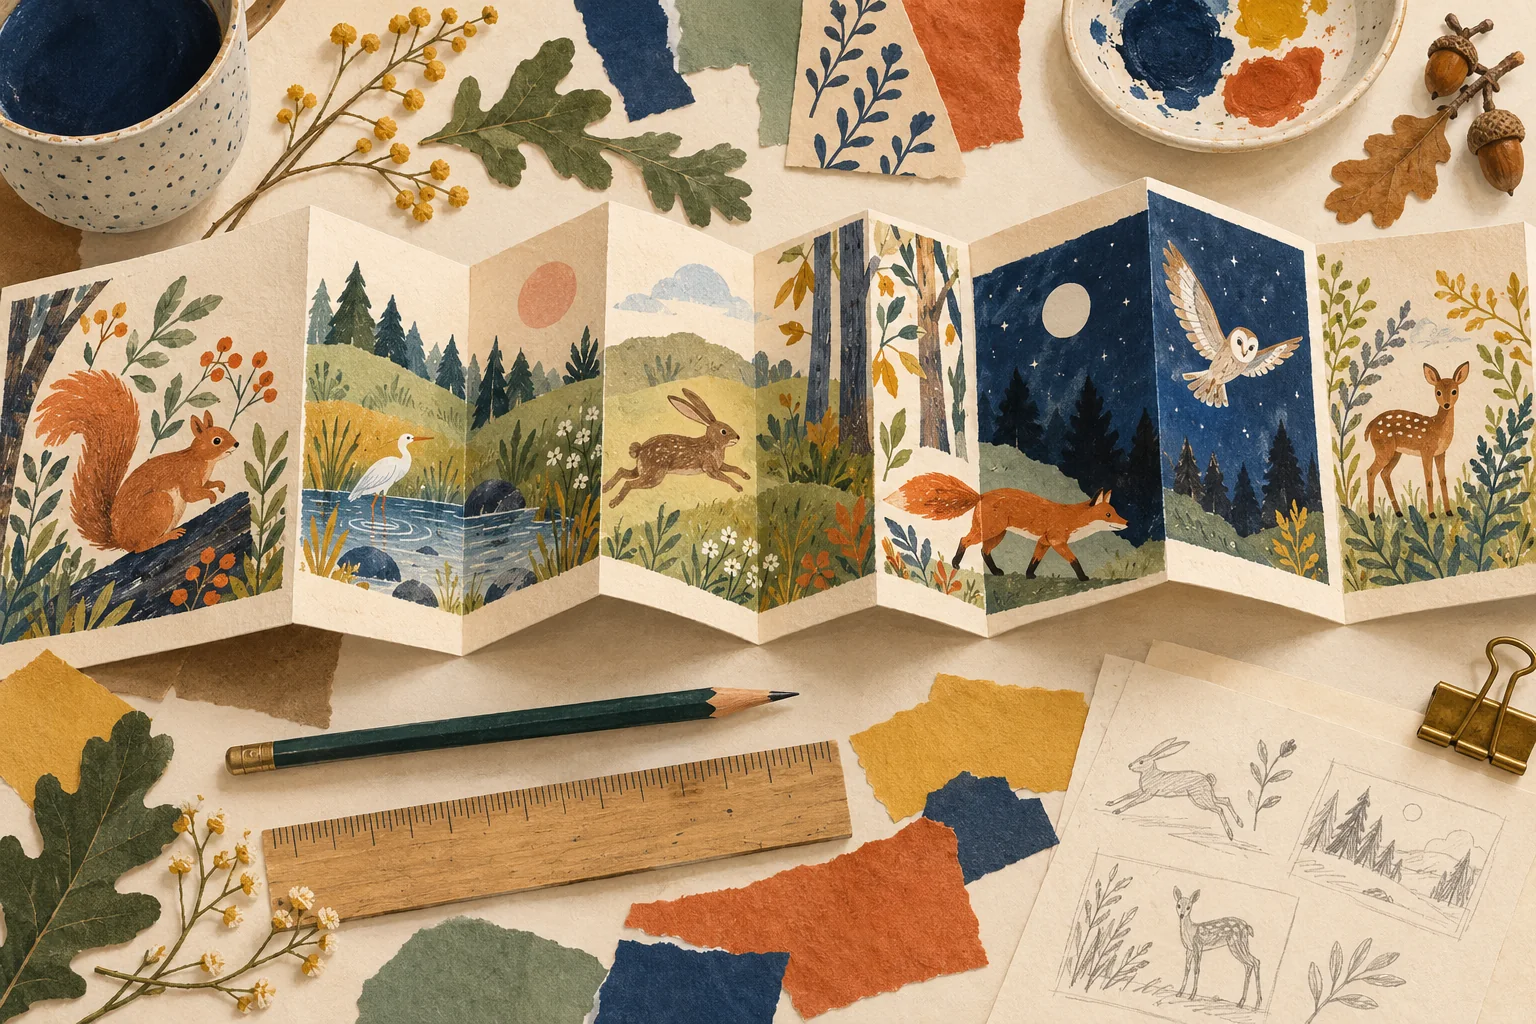
Page planning turns a manuscript into a physical reading experience. It determines when information appears, where a reader pauses, and whether an illustration has enough room to work. Finishing all the artwork before making these decisions can leave an author with beautiful images that do not fit the story’s rhythm or the printer’s requirements.
The process below uses a fictional garden adventure to explain the handoff between writing, illustration, and production. It is a production method, not a universal page-count rule. The appropriate length and format depend on the book, the audience, and the publishing service selected for the final edition.
Make a page inventory before drawing
List every intended interior page, including title, copyright, story, activities, acknowledgments, and any deliberately blank pages. Distinguish the interior from the cover file. Do not let a folder of illustrations become the only record of the book. A missing legal page or duplicated activity is easier to catch in a simple inventory than in a finished PDF.
Give each row a stable page number and a short purpose. For example: “Page 5: Fox discovers the empty garden; establishes the goal.” Add columns for text status, illustration status, source filename, and review notes. Keep delivered, approved, missing, and defective pages separate. Receiving a file does not mean the page is ready for print.
Map story beats to turns
Write each important event on a card. Place the cards in reading order, then ask what the reader knows before and after each turn. A reveal can lose its effect if the answer is visible on the facing page. A quiet emotional moment may need space after a busy sequence. Page turns are part of the storytelling rather than a mechanical division of text.
For the garden example, the fox might hear a strange sound before the turn and discover a helpful neighbor after it. Draw this in rough boxes before commissioning final art. If a sequence feels slow, remove or combine a beat. Adding another decorative scene will not repair a story that has stopped moving.
Create a small physical dummy
Fold ordinary paper into a rough booklet and place printed text or handwritten notes on each page. The dummy does not need correct paper stock or polished pictures. Its purpose is to reveal sequence, pacing, and where hands may cover content. Read it from beginning to end without explaining your intentions to the person holding it.
Mark awkward transitions directly on the dummy, then transfer those notes to the inventory. If the book will also have a digital edition, test that reading sequence separately. A fixed printed spread and a screen display are different experiences. Do not assume that a print-ready PDF automatically creates a comfortable eBook.
Separate trim, bleed, and safe space
Trim is the finished page edge. Bleed is artwork extending beyond that edge. Safe space protects text and important details inside the finished page. These are different production concepts. A background can extend into bleed while a character’s face remains comfortably inside the safe area. The binding edge also deserves particular attention.
Use the printer’s current specifications for the selected format. Amazon’s trim, bleed, and margin guidance explains its interior requirements and how page count affects inside margins. Do not apply a cover template to an interior or assume every printer uses identical bleed geometry. Generate the final cover dimensions after the interior page count is settled.
Write illustration briefs that leave room for design
For each scene, specify the action, necessary characters, continuity details, and intended text location. Identify what must be shown and what the illustrator may interpret. “Fox holds the blue watering can in the left paw” is a continuity requirement if surrounding pages depend on it. “Make it magical and beautiful” does not tell an illustrator what the scene must communicate.
Keep a shared reference sheet for character proportions, clothing, palette, and recurring objects. Our series style guide tutorial explains how to maintain that reference without forcing every page into the same composition. Allow changes in camera distance and staging when they support the story, while checking that the character remains recognizable.
Review text and artwork together
Place the actual words on the rough artwork before approving the illustration. A lovely sky may become the only space available for a paragraph, or a busy background may make text difficult to read. Test the page at its intended physical size. Zooming in on a monitor can hide problems that become obvious when the book is held normally.
Check that the words do not repeat everything the image already communicates. Confirm that text follows a consistent alignment and that the reader can locate the beginning of each passage. Where the design intentionally changes, make sure the change helps meaning. A new font or dramatic position on every page can make a simple story feel harder to follow.
Use a revision ledger
Give corrections a page number, issue, requested action, and status. “Fix the fox” is too vague. “Page 12: restore the scarf color shown on approved page 4” is actionable. Keep the approved reference available with the note. Review the corrected page again before marking the issue closed.
Use versioned filenames and one approved master location. Avoid folders containing several files called final, final-new, and final-really-new. A workable filename identifies the book, page, version, and status. When a revised page arrives, check its dimensions as well as its visible content; a correct illustration exported at the wrong size is still a production problem.
Inspect the assembled file and physical proof
Review the PDF page by page, then as a sequence. Check count, orientation, embedded fonts, missing images, duplicated pages, and blank pages that were not planned. Confirm that the cover corresponds to the final interior. A page-count change can require a new cover template and spine calculation, depending on the print format.
Use a physical proof to inspect color, readability, trimming, and binding behavior. Record defects separately from creative preferences so that the final revision has a clear purpose. Only mark the book ready after the corrected files have been checked. Our children’s publishing guide connects this production review to accurate listings and a realistic launch plan.